
Procedures
Installation procedures
Installation procedures for Inspection Point Seals inspection ports. Our literature packet has a visual presentation of these steps.
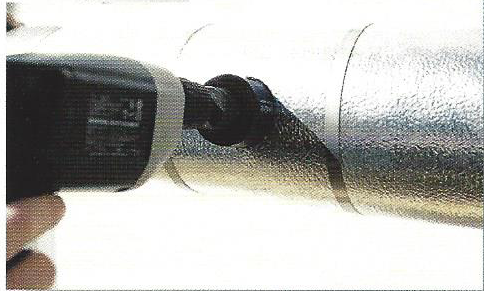
01
Step 1: Cut hole with hole saw
Using a properly sized hole saw, cut through the jacketing. Be careful not to hit the underlying piping with the hole saw or its pilot bit.
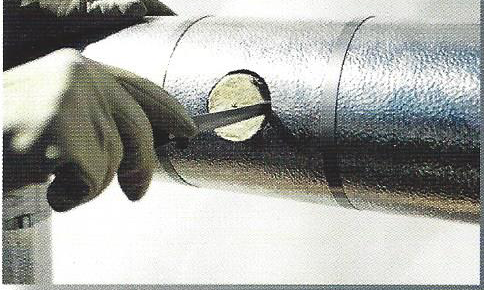
02
Step 2: Remove insulation
Use your insulation knife to remove the insulation plug. Cope out the insulation right under the jacketing slightly so the locking ridge on the inspection port can grab the underside of the jacketing, then clean the hole of loose debris.
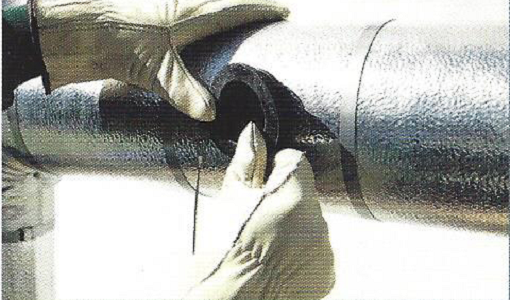
03
Step 3: Insert sealing flange
Insert the sealing flange, making sure it snaps firmly in place. On non-corrugated jacketing, the jacketing will fit between the large outer flange portion and the first locking ring. Corrugated jacketing fits between the two locking ridges on the flange.
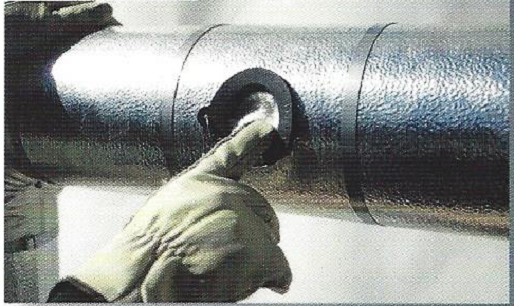
04
Step 4: Install insulation
Install the ThermoDisc insulation plug or other insulation appropriate to the system (if it is intact, you may reinstall the insulation disc you cut out in step one). Hot systems can use the ThermoDisc, a plug of fiberglass mat, or ceramic fiber. Cold systems should use appropriate closed-cell foam.
05
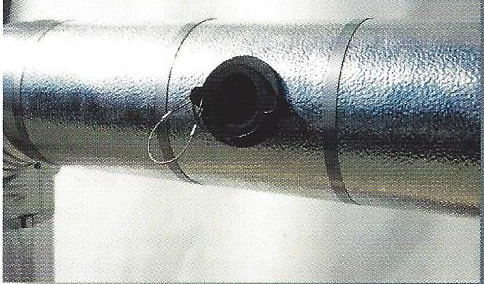
Step 5 (no lock ring): Insert cap
Fully insert the cap into the flange.
06
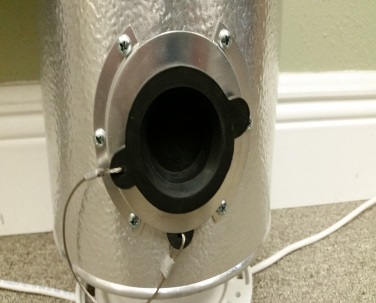
Step 5 (with lock ring): Install lock ring
Place the lock-down ring over the flange, insert the cap over the lock-down ring into the flange, and screw down the aluminum lock-down ring.
Where hot work is not allowed, you may use tin snips to cut the hole in the jacketing. In that case, use caulk between the jacketing and the inspection port flange to fill any gaps and ensure a watertight seal, then use screws to attach our aluminum lock-down ring.
Shop inspection ports